Clip Logging
Media Sync Tool does something no other sync tool does: as it syncs, it logs the script supervisor’s continuity report straight onto your rushes—scene, shot, take, various comments and take verdict on every clip—and renames each clip to a pattern you define. Your synced event arrives fully logged and named, ready to edit.
When a continuity-notes CSV is attached, each matched clip receives the scene, shot, take number, and any other columns you map; a Favorite or Rejected rating derived from the supervisor’s verdict; and a new clip name built from the report. The original camera filename never has to be touched.
How it works
Each sync produces two events instead of one when continuity notes are attached:
- EVENT_NAME Logged & Synced — the usual sync output (multicam clips, synchronized clips, MOS clips, keyword collections), also logged and renamed.
- EVENT_NAME Logged — the source clips with all the continuity-report metadata, and the new names applied (when nothing could be synced but clip logging was enabled).
If a sync can’t pair anything by timecode, logging still isn’t lost: Media Sync Tool produces the Logged event on its own and finishes with a Clips Logged, Not Synced warning, rather than stopping with a Nothing to Sync error. The Logged & Synced event simply isn’t created—there was nothing to sync—but every clip your report matched is still logged and delivered.
Note: If no continuity notes are attached or no clip-name matches were found in the source FCPXML, sync runs as usual and produces only the synced event.
Loading a continuity-notes CSV
There are three ways to attach a continuity-notes file:
- Open Continuity Notes from the control bar at the top-right of the window, then click the import button and choose your CSV.
- Drag the CSV straight onto the Continuity Notes screen — the same gesture that starts a sync on the drop zone.
- Choose File ▸ Import Continuity Notes…
Tip: Only have the notes as a PDF? Media Sync Tool can convert a script supervisor’s report to CSV itself — click Convert to CSV… at the bottom of the empty Continuity Notes screen, or choose File ▸ Convert Notes PDF to CSV… The converted CSV is revealed in Finder so you can review it, then dropped straight back onto the same screen. See Convert a notes PDF to CSV.
Clip-name matching
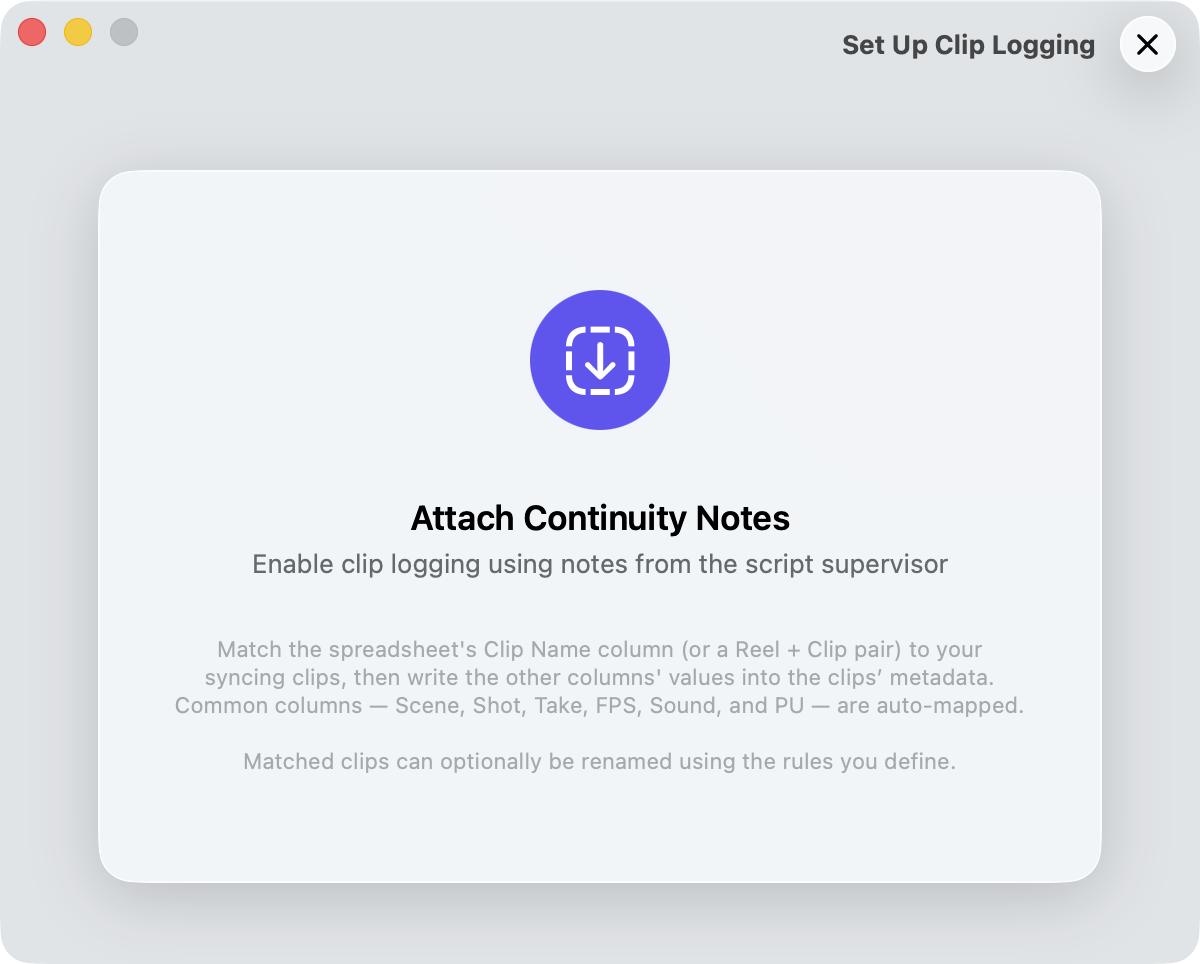
The CSV must include a column with the clip names — a single source of truth for matching clips in an FCPXML that you provide later to start syncing/logging.
Column headers like Clip Name, or Reel Name are recognised automatically and used for clip matching. Alternatively, you can use Cam(or Reel) column paired with Clip column — Media Sync Tool is able to construct clip names out of those pairs.
Tip: Column with clip names doesn’t have to match the filenames exactly. Media Sync Tool normalises both sides for comparison — case, separators (underscores, hyphens, dots), file extensions, and leading zeros are ignored — so the A01_C0010 clip name value in your CSV matches a file named A001C0010_FEDASJIUDSA.mov.
Unmatched rows
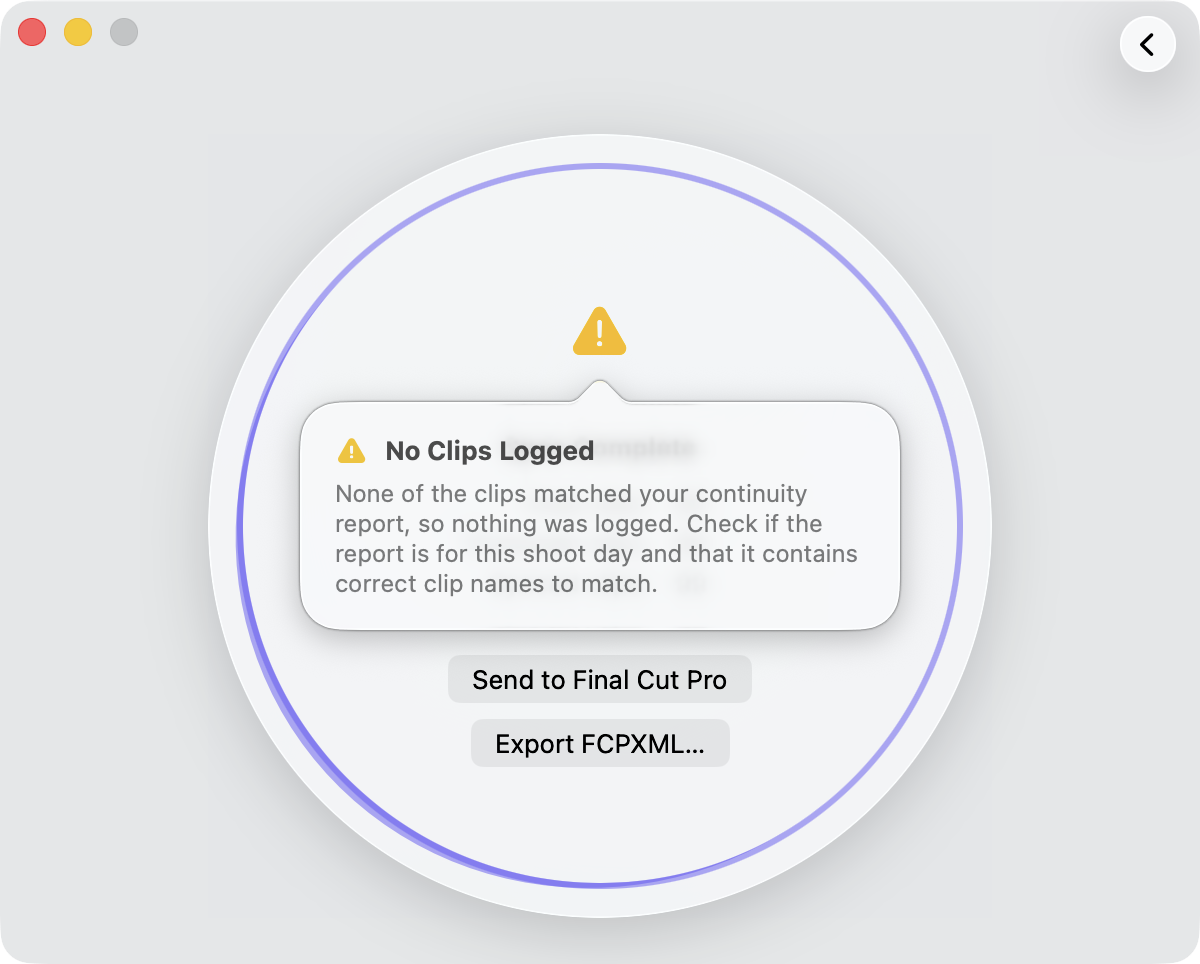
Clips whose clip names don’t match any file in the FCPXML are simply skipped, and partial mismatches (for example, a report that spans several shoot days) pass silently — every clip the report does match is still logged. Only when none of the clip-name values match the dropped FCPXML does Media Sync Tool flag it: the sync still completes, but nothing is logged, and the result finishes with a yellow No Clips Logged warning you can click for the details. That usually means the wrong CSV was attached for this event, or the report is for a different shoot day — check that its clip names match your rushes and import the correct one.
Mapping columns to Final Cut Pro fields
After import, the Continuity Notes screen lists every column from your CSV with a destination picker, so you can confirm where each one writes. The choices are:
- Skip — skip column during logging.
- Final Cut Pro · Field — write to a built-in Final Cut Pro field (Scene, Take, Notes, Reel, Camera Angle, Camera Name).
- Custom · Field — write to a custom field created by you in Final Cut Pro.
- Create custom field — define a new custom field with the display name you choose.
- Manage custom fields — manage all your custom fields.
Sensible defaults are filled in for you. The mapping persists across sessions, so re-importing notes from the same production is a one-click confirmation, and it stays on the Continuity Notes screen while notes are loaded so you can adjust it any time.
Common columns the parser recognises by header: Scene, Shot, Slate, Take, PU, Sound, Comment, Notes, Description.
Renaming clips
Media Sync Tool can build a fresh, meaningful name for every matched clip out of the report’s own columns — so your synced event reads like a slate (42-A-3) instead of a wall of camera filenames. You compose the name yourself, right on the Continuity Notes screen:
- Tick Rename on each column you want to appear in the new name — for example Scene, Shot, and Take.
- Drag the rows to reorder them; the name parts follow the row order top to bottom.
- Set a Separator on each row — it’s placed between values (the trailing one is dropped), so Scene
42, ShotA, Take3with-separators becomes42-A-3. The default Separator value is a space character. - A live Rename example at the bottom of the table shows exactly how a clip will be named as you adjust the rules.
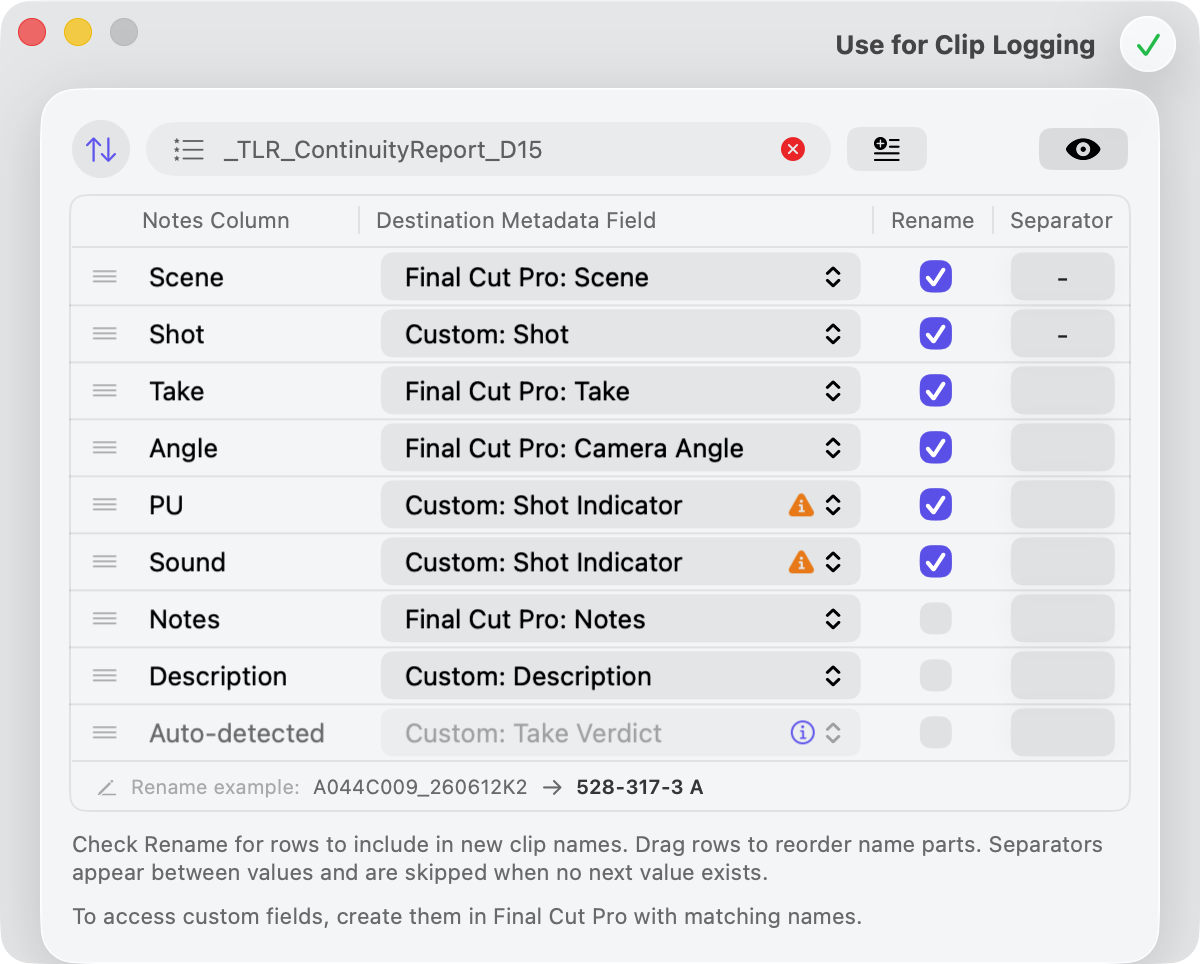
Note: The orange information triangle indicates that more than one column writes to the same metadata field. It's not harmful but allows you to write several columns into the same field — values from each column are joined into the shared field using the separator configured on each row.
Empty columns are skipped without leaving a dangling separator, so optional slate modifiers (PU, Sound, Wild Track) that are blank on most takes don’t clutter the name. If every chosen column happens to be empty for a clip, that clip keeps its original name.
Tip: Good takes can be starred. Turn on Append asterisk to good take numbers in Settings and a clip whose verdict is good gets a * on its take — 42-A-3* — so the Good takes jump out in the browser.
Multicam clips are named the same way, except the camera-angle part is left off the multicam itself (the angle is meaningless on a clip that holds every angle). Each angle inside the multicam still carries its own full name.
Good / NG detection
You don’t have to tell Media Sync Tool which column holds the take verdict. Script supervisors name it differently from one production to another, so Media Sync Tool scans every column of each row for take marks.
Unless your report already settles the question. A CSV that carries its own Take Verdict (or Verdict) column is treated as verified by hand — perhaps an assistant checked every take, or the CSV came from the app’s own PDF converter. That column then becomes the sole source of each verdict: its value is used as-is, nothing is inferred from comments, and a blank cell means the take simply has no verdict. The column appears in the mapping table like any other row, pre-routed to the Take Verdict field, and the app’s own auto-generated Take Verdict row steps aside.
A take is marked Favorite when any column contains a clear positive — good, gd, great, perfect, good!, or the editor-log marks FAV and BSF — with no uncertainty markers. It’s marked Rejected when any column contains NG, not good, false, false start, FS, fail start, bad, scrapped, wasted, or abort.
Additionally, you can enable tweak options in the Clip Logging Settings to automatically apply Final Cut Pro’s Favorite or Rejected ratings to clips whose continuity note have a clear verdict.
Note: A question mark (?) anywhere in a row cancels a Favorite, leaving the take unrated rather than circled by mistake.
Tip: A clear verdict (Good or NG) is written to the Take Verdict custom field — auto-populated by the scan, or taken straight from your report’s own verdict column when it has one. To see it, add a Take Verdict field in the Final Cut Pro Inspector, just as you would for any other custom field.
How you know Clip Logging is on
Once you’ve attached a CSV report and confirmed your logging scheme in the Clip Logging view above, the drop zone changes to clearly indicate that clip logging is enabled for the next sync.
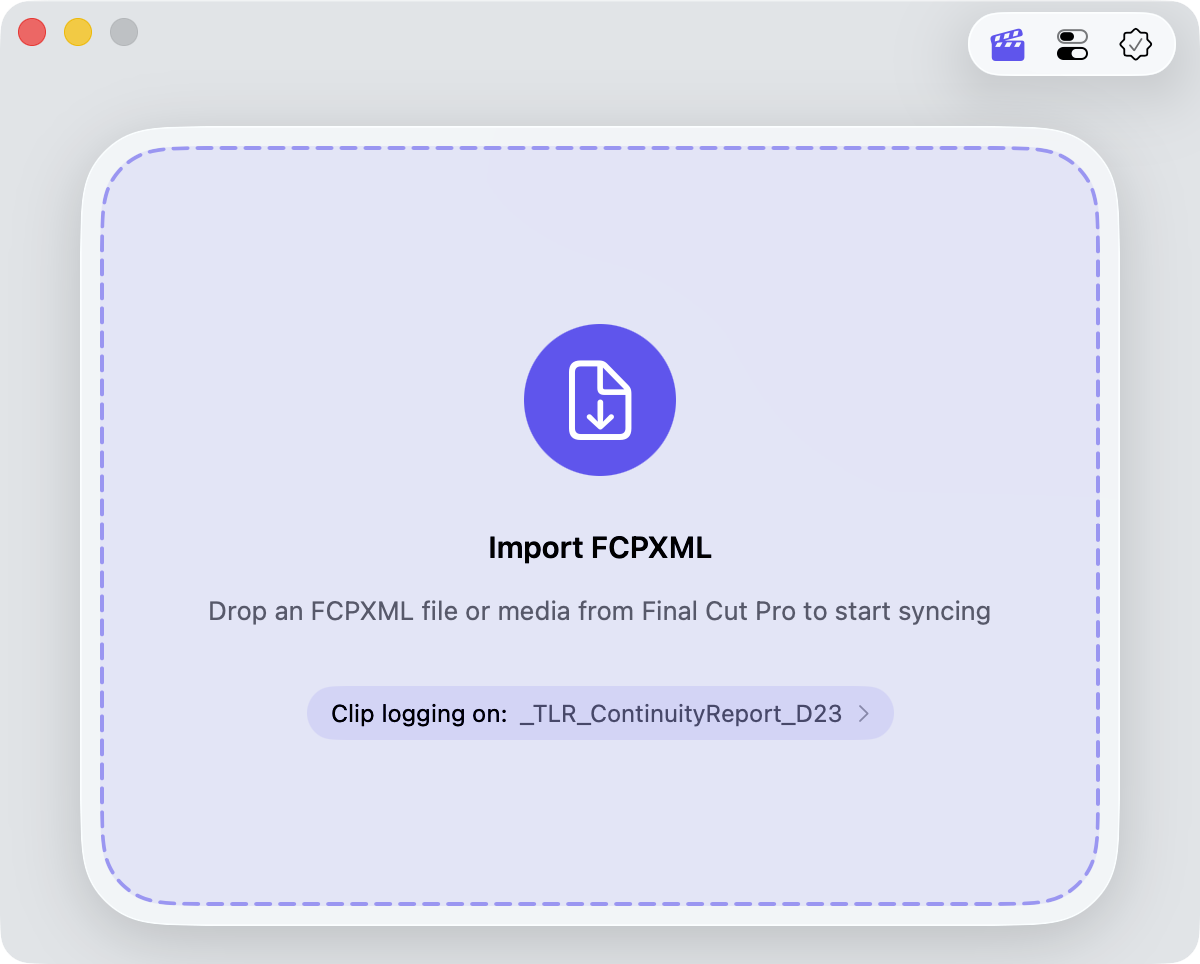
The top Clip Logging button fills in, and a chip on the drop zone shows the name of the CSV report that will be used for clip logging.
Disable clip logging
Click the red circled xmark button next to the attached CSV file name to disable clip logging.

Important: Loaded continuity notes are cleared automatically when you return to the drop zone after a sync. Import the CSV again to apply it to the next sync.